
 Facebook
 X
X
 Pinterest
 Copy Link
How To Maximize a Small Living Space?

Between micro-apartments, tiny homes, and even #vanlife, the real estate industry is taking the saying “less is more” to previously unknown levels. And while we can all get behind the idea of streamlining your life and shedding possessions that no longer meet your needs.
The good news is that as we’ve become increasingly obsessed with small living spaces, we’ve also discovered (or recovered) strategies to maximize what you’ve got. Whether you already live in a small space, you’re downsizing, or you just want to be more efficient with the space you have, these tips will help you achieve your miniature-lifestyle dreams.

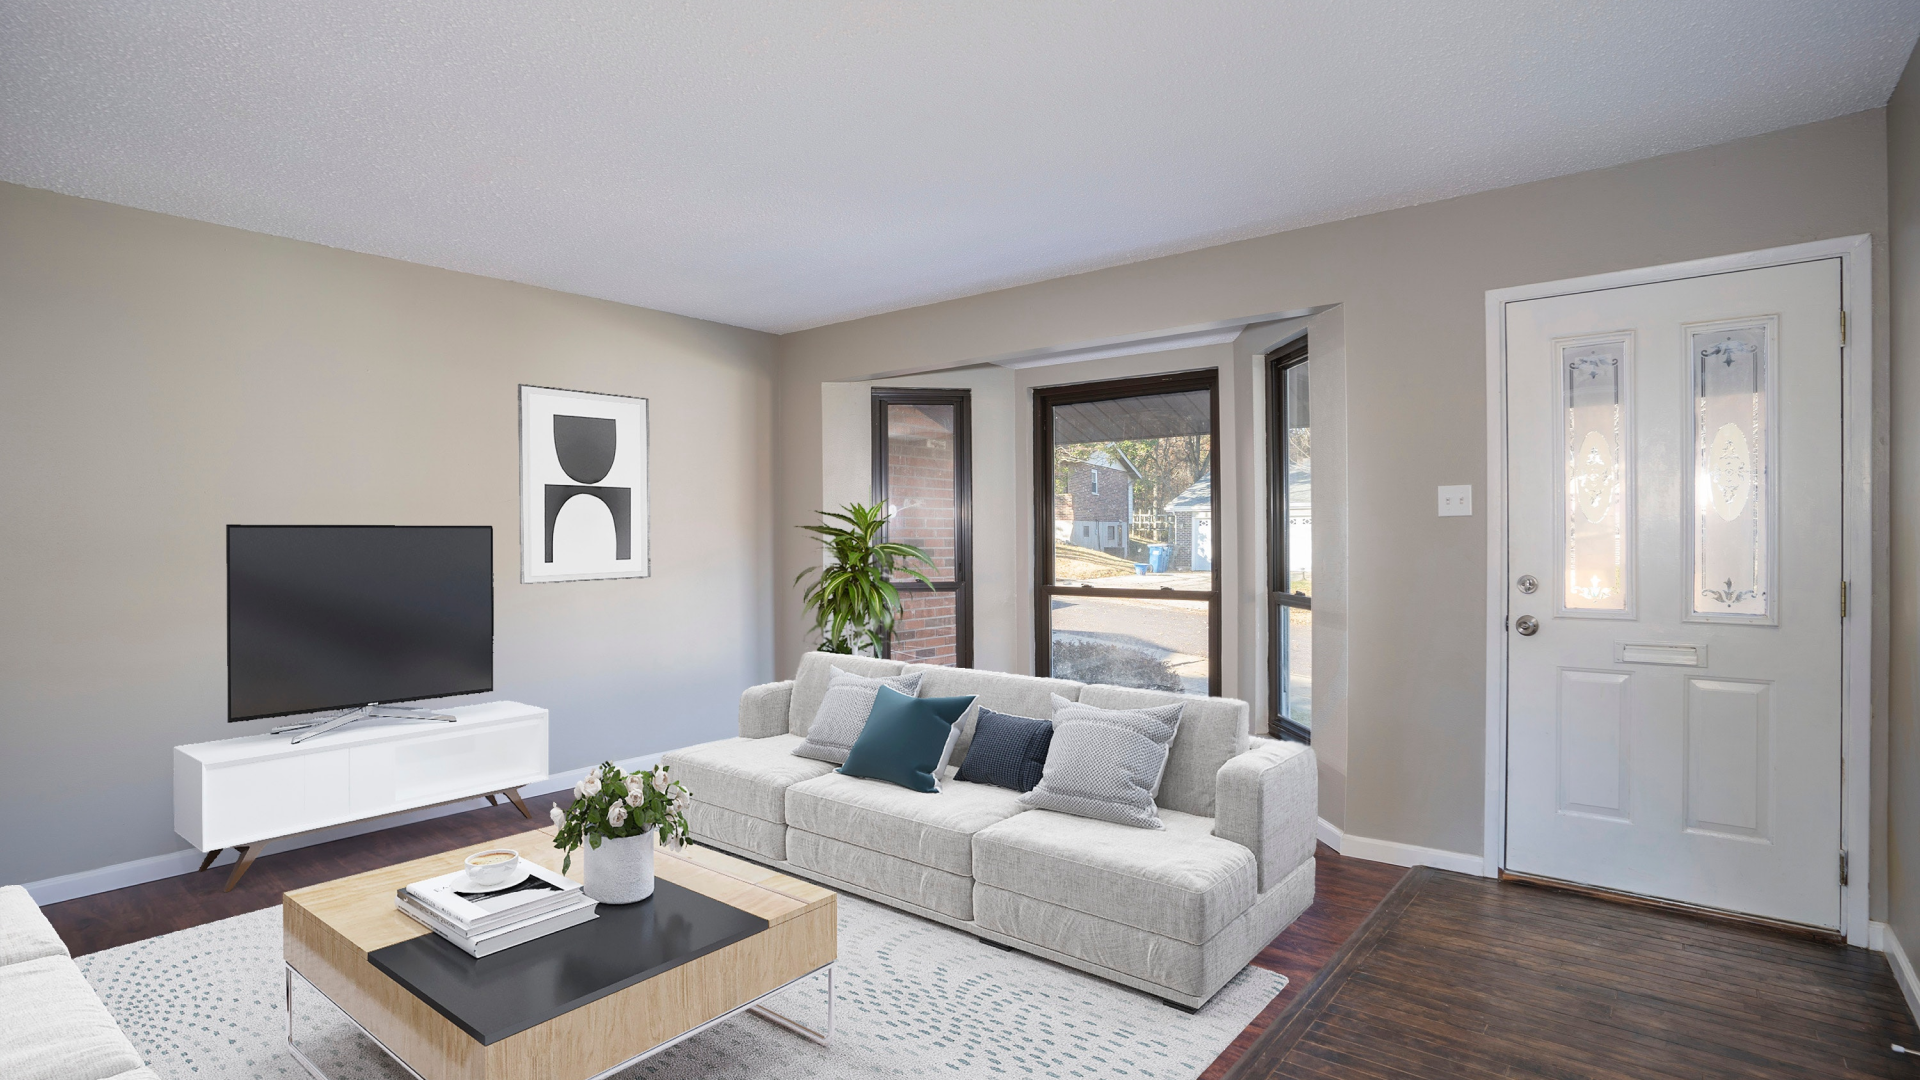
Look high and low
As humans, we’re socialized to see what’s in front of us — and little else. Ask any hide-and-seek champion and you’ll learn that there’s a whole world of possibilities both above our line of sight and below it, where we rarely glance.
- Take a walk through your living space and pay special attention to space above your head toward the ceiling and space below your knees toward the floor. If you’ve got high ceilings, you might find a ton of new opportunities for shelving or other storage options.
- Make sure you’re focusing on “unusual” spots, too — like under the stairs, for example. We’re not suggesting you turn that space beneath the stairs into a bedroom, but it’s certainly possible that when you bypassed the stairs, you also neglected the perfect space to store out-of-season clothing items.
- Consider your furniture while you’re examining your place from floor to ceiling. If space is at a premium, then you’ll want to find dining room seating (for example) that tucks completely under the table when you’re finished.
One great way to make your space look larger-than-real-life is to arrange all of your seating lower to the ground. Instead of a couch in the living room, you might consider a futon that folds into a bed — or maybe even just some big, comfortable cushions that can be stacked in a corner when you’re not lounging or entertaining guests.
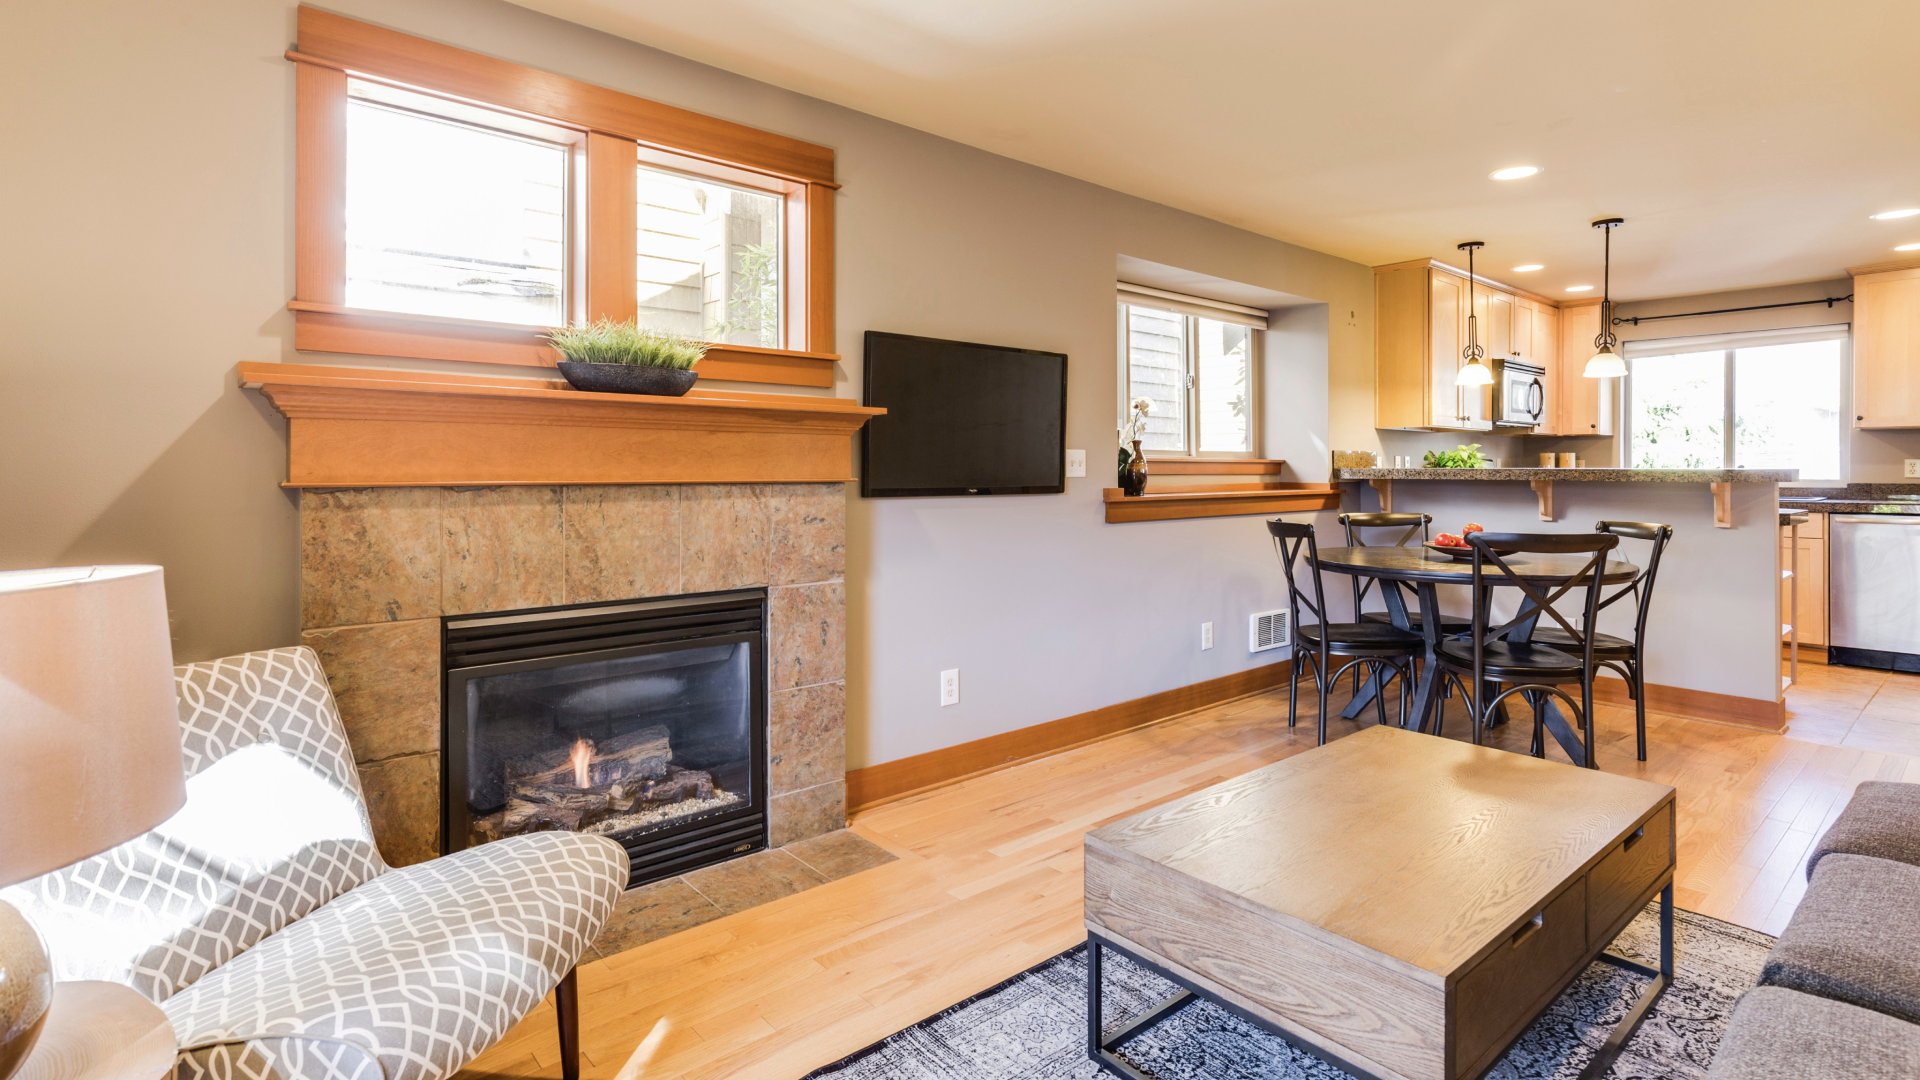
Transparency is key
One of the essential problems with living in a small space is that a “traditional” home is very much divided up by function.
You sleep in the bedroom, cook in the kitchen, work in the office, and relax in the living area — all of which are divided up by walls.
Smaller living quarters often try to replicate a traditional home, but if you’re living in a tiny space, then you might not want walls dividing everything up … and even if you do, maybe a permanent wall of brick and mortar is the wrong move.
Glass doors and walls can functionally separate your space for living without sacrificing any of your line-of-sight vision, giving the illusion of plenty of room even in a smaller home.
If you’d like to actually block off space physically and visually, then hanging a curtain that you can fling open or draw closed can be a nice way to create a “room” within a room — without the walls.
Mirror, mirror
Hotel designers know this trick (and you won’t be able to unsee it now that we’ve told you about it): Hang a large mirror across one wall to give the illusion of twice the space.
When you arrange lights around or in front of the mirror, you’re also brightening the room up significantly.
You can hang the mirror above a couch or a bed, or on the back of a door, very easily. And you can even find mirrored tile these days, so if you love the look of subway tile and also would like to take advantage of some mirroring in your bathroom or kitchen, then you can even consider a mirrored backsplash in one (or both) of those spots to capture light and brighten the room.
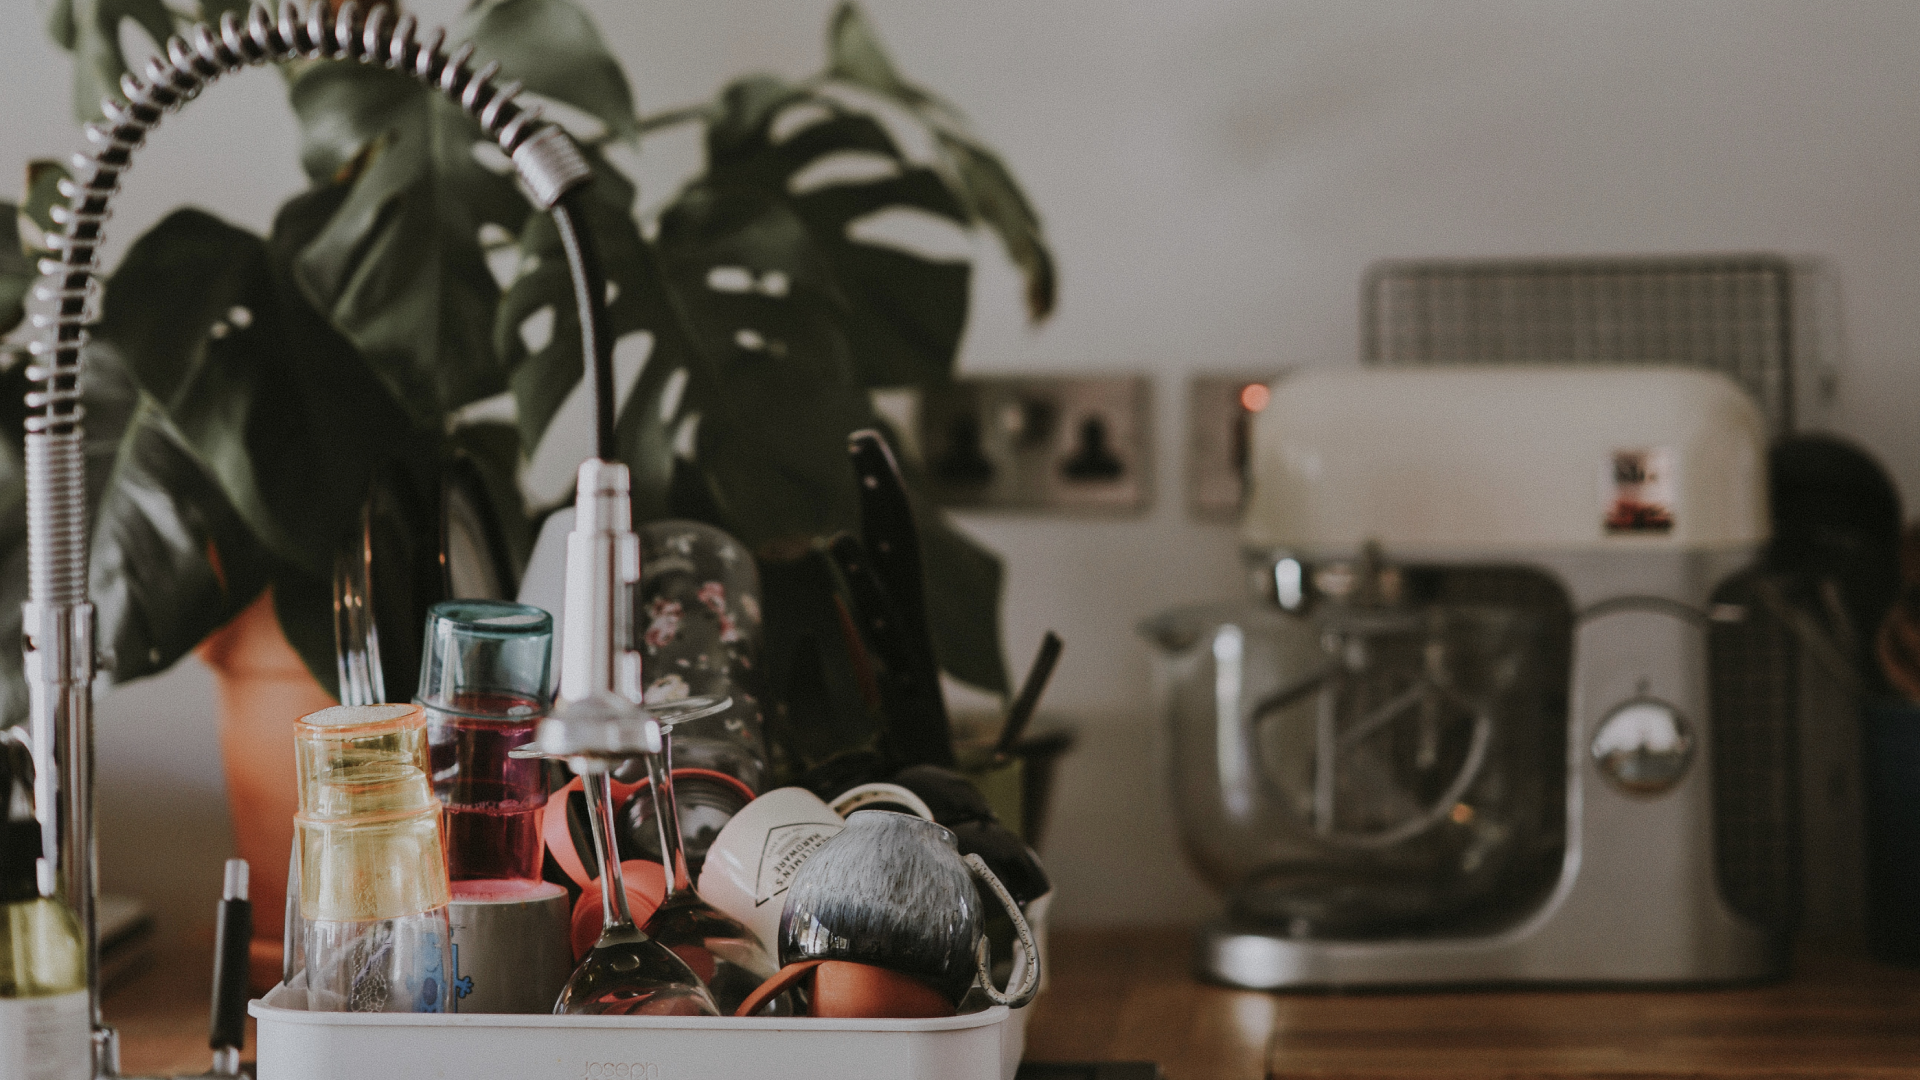
Work those walls (and ceilings)
Now that you’ve walked through your home with an eye toward the sky, you probably know where you are missing an opportunity to maximize your space.
- Could you replace your kitchen light with a version that includes a rack for pots and pans, for example, freeing up some cabinet space below?
- Are you parking your bicycle in the hallway when you could install a couple of hooks and hang it up?
- Is there space to add a bookshelf or three for storing rarely used items? (Or books?!)
You might find there’s space above your kitchen cabinets where you can park small appliances that you don’t use very often, or maybe there are corners throughout your living space where you could install a shelf and use it. Remember: Your floor is just one surface; you can create many more if you need to.
Stackable (or stashable) appliances
Yes, you can have a washer-dryer in your small abode — but it’s probably best if you choose a set that stacks to help save some floor space.
Appliance manufacturers have been paying attention to the micro-trend, and they’ve been building products for smaller spaces that work just as well as their full-size counterparts.
Before decking out your diminutive dwelling, do some research on what appliances are available and consider whether they would work for you and your lifestyle.
Elevate your furniture
Lifting up your furniture just a few inches can expose treasure troves of storage space. If you’ve got a traditional bed or sofa and need to maximize your storage surface area, then consider getting some risers for either piece of furniture and investing in some low boxes or other storage containers that you can slide underneath.
Make your outdoors great
Maybe that space between your walls is officially “tiny” — but if you’ve got the ability to spread yourself around outside, then consider turning your deck or yard into a bonafide living space.
Patio furniture and hammocks can help you create a dining or lounge space outside, complete with furniture, and if you have room for a grill outside (and the weather is nice enough year-round), then you might even be able to turn your out-of-doors into a kitchen of sorts.
And storage shed outside can solve a lot of your storage problems, too, from out-of-season clothing to recreational equipment.
Keeping the lawn mowed and your flowerbeds blooming can also go a long way toward making your home feel serene instead of cluttered and overstuffed with “stuff.” If you maintain the outside of your home, it will invite you to relax just as effectively as a king-sized feather bed with fluffy white pillows or leather sectional in front of a television.
Deep Cleaning Tips for Homeowners

If you’ve never owned a house before, then it’s entirely possible that you’ve never deep-cleaned a house. (Hey, no shame in that game.) But when the house is yours, the desire to see it as clean and sparkling as it can possibly be is strong — and you might have no idea where to start or how to go about getting your clean on.
Don’t panic! Take a deep breath and remind yourself that nobody knows how to do everything. Then follow these tips for homeowners that will outline exactly how to go about deep-cleaning any home … and how to maintain it so that next time you don’t feel so overwhelmed.

Make a list, then divide and conquer
The most overwhelming part of deep-cleaning is undeniably the moment when you start to realize just how much there is to do. Before you even let yourself go there, stop and make a list of everything you need to do.
- Begin by listing all the rooms in your house. Include a space for your garage, the basement or the attic (if you have one) and for outdoor living spaces like porches, balconies or decks.
- Start listing what needs to be done in each of those spaces. Before you know it, you’ll have a comprehensive list of absolutely everything that you need to do to get your house as clean as it’s ever been.
- After you’ve got your master list, start dividing it up. You can assign different rooms to other household members who are helping with the massive clean or divide it by day of the week so that you’re spacing out your deep cleaning in a way that doesn’t overwhelm you.
Start at the top
Gravity can be your friend or your enemy when you’re cleaning a house. You can avoid a lot of heartache by understanding this truth and beginning your work at the top of each room, moving your way down.
That way any dust you’re knocking loose from high shelves or light fixtures will land on a floor that you haven’t yet cleaned instead of a floor you just finished mopping.
It might help to organize your list from literal top to bottom before you even walk into the room. That way you can easily run down the list in order without messing up an area you just cleaned.
Declutter, declutter, declutter
When you have a lot of stuff — books, clothes, sports equipment, pots and pans, whatever — then cleaning around all of it becomes a challenge. The first step in any room should be a sweep to assess what you use and what you haven’t touched in a year or more. Anything that falls into the latter category should be considered for disposal — give it to a friend or donate it if you like.
It may feel painful to part from your things, but keeping your house looking neat and clean will be so much easier if you can power through the hard part and let go. Get serious about decluttering now so that your home will look cleaner and more presentable forever.
Clean your screens and windows
Let’s be honest: Cleaning screens and windows can be a real pain, which is probably why it doesn’t get done very often.
But it makes a huge difference in the quality of light that pours through those windows, and it’s well worth addressing at least once a year.
While you’re washing the windows, make sure you’re paying some attention to the windowsills both inside and outside the house.
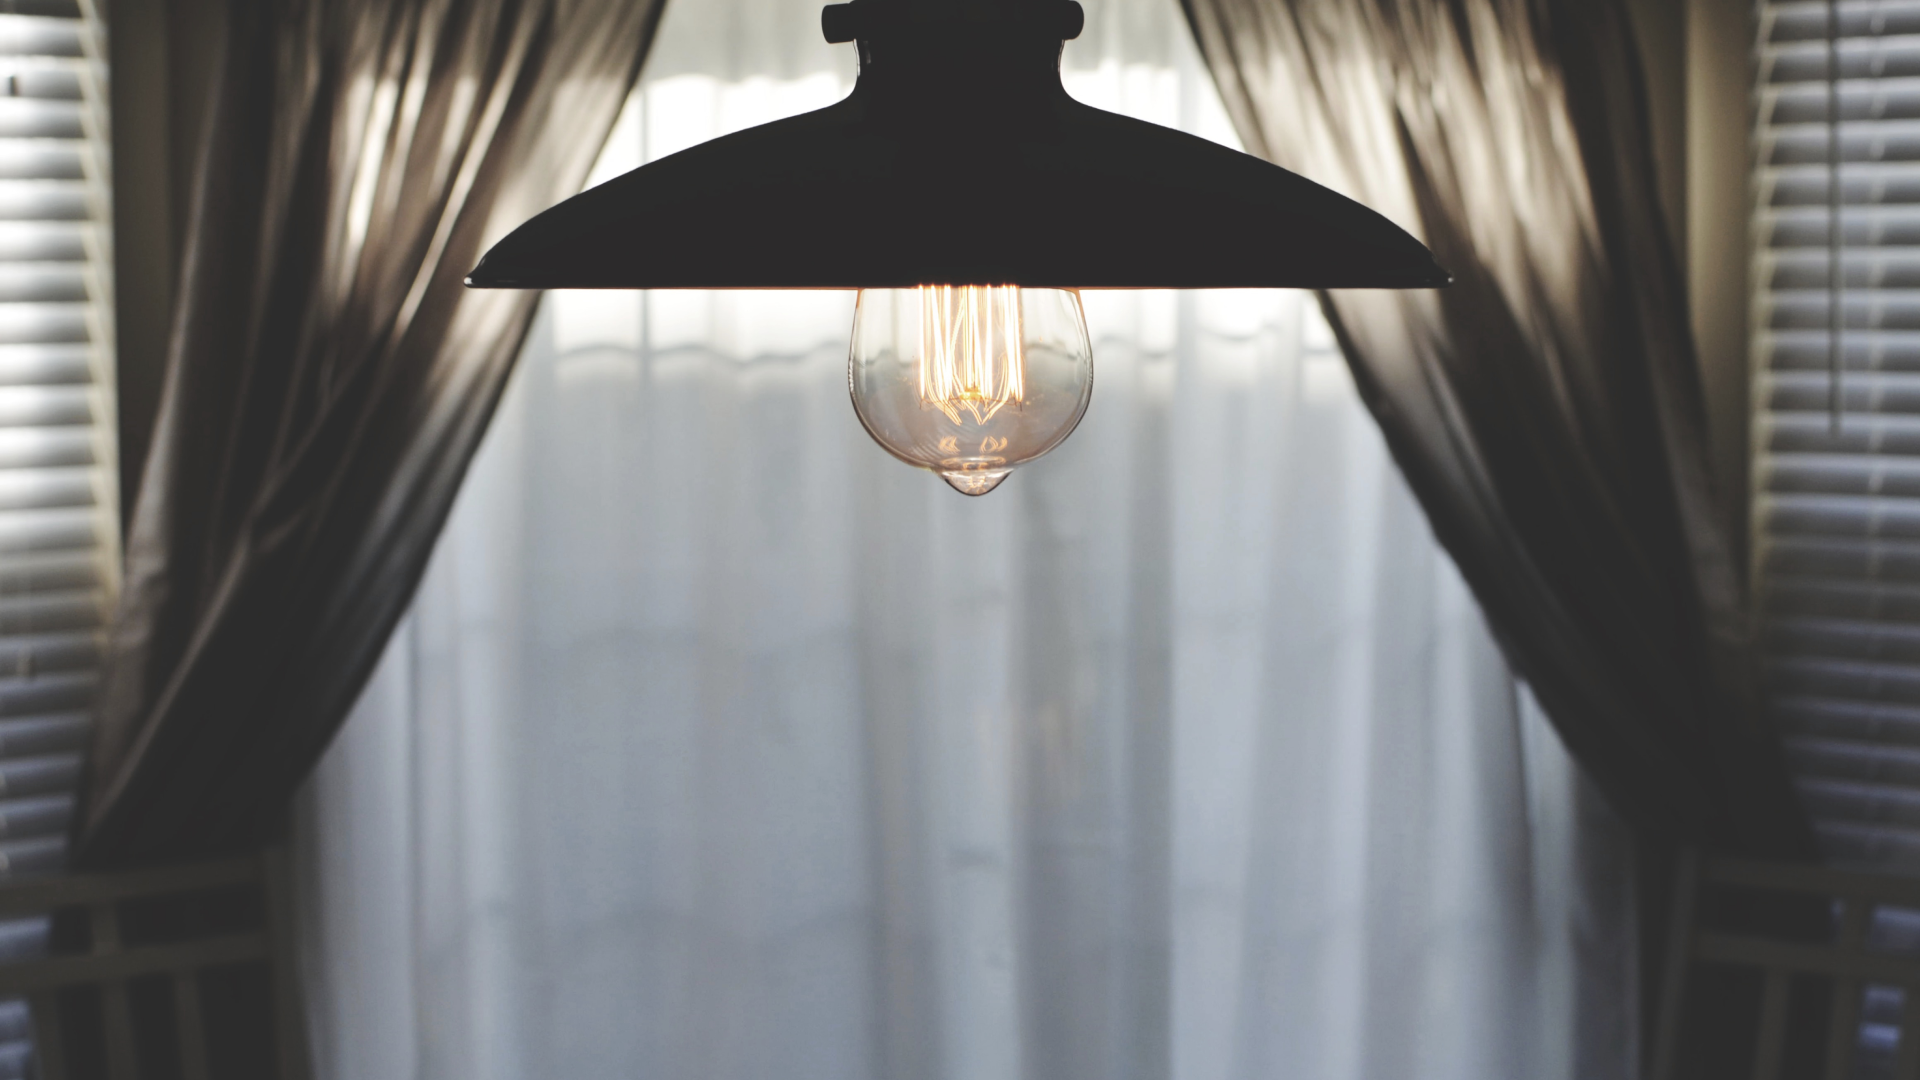
Don’t forget the light fixtures
Windows aren’t the only factors influencing the quality of light in your house. Your light fixtures might be dusty or dirty and you wouldn’t even notice because they’re so far above your head. Make sure that you’re removing and cleaning light fixtures in each room, drying them thoroughly before you replace them.
Organize, organize, organize
If you just moved in, then the odds are good that you’ve still got a box or two packed up and stashed away in a closet. Deep cleaning means deep organization, so if the stray-box theory sounds a lot like you, then it’s time to finally finish the job.
Even if you’ve already unpacked absolutely everything, this is still a good time for you to figure out how you’re going to establish a place for everything and everything in its place.
Once you have an organizational system that works, be it for your bookshelves or your toolshed, then all you have to do to keep everything spiffy is to follow that system.
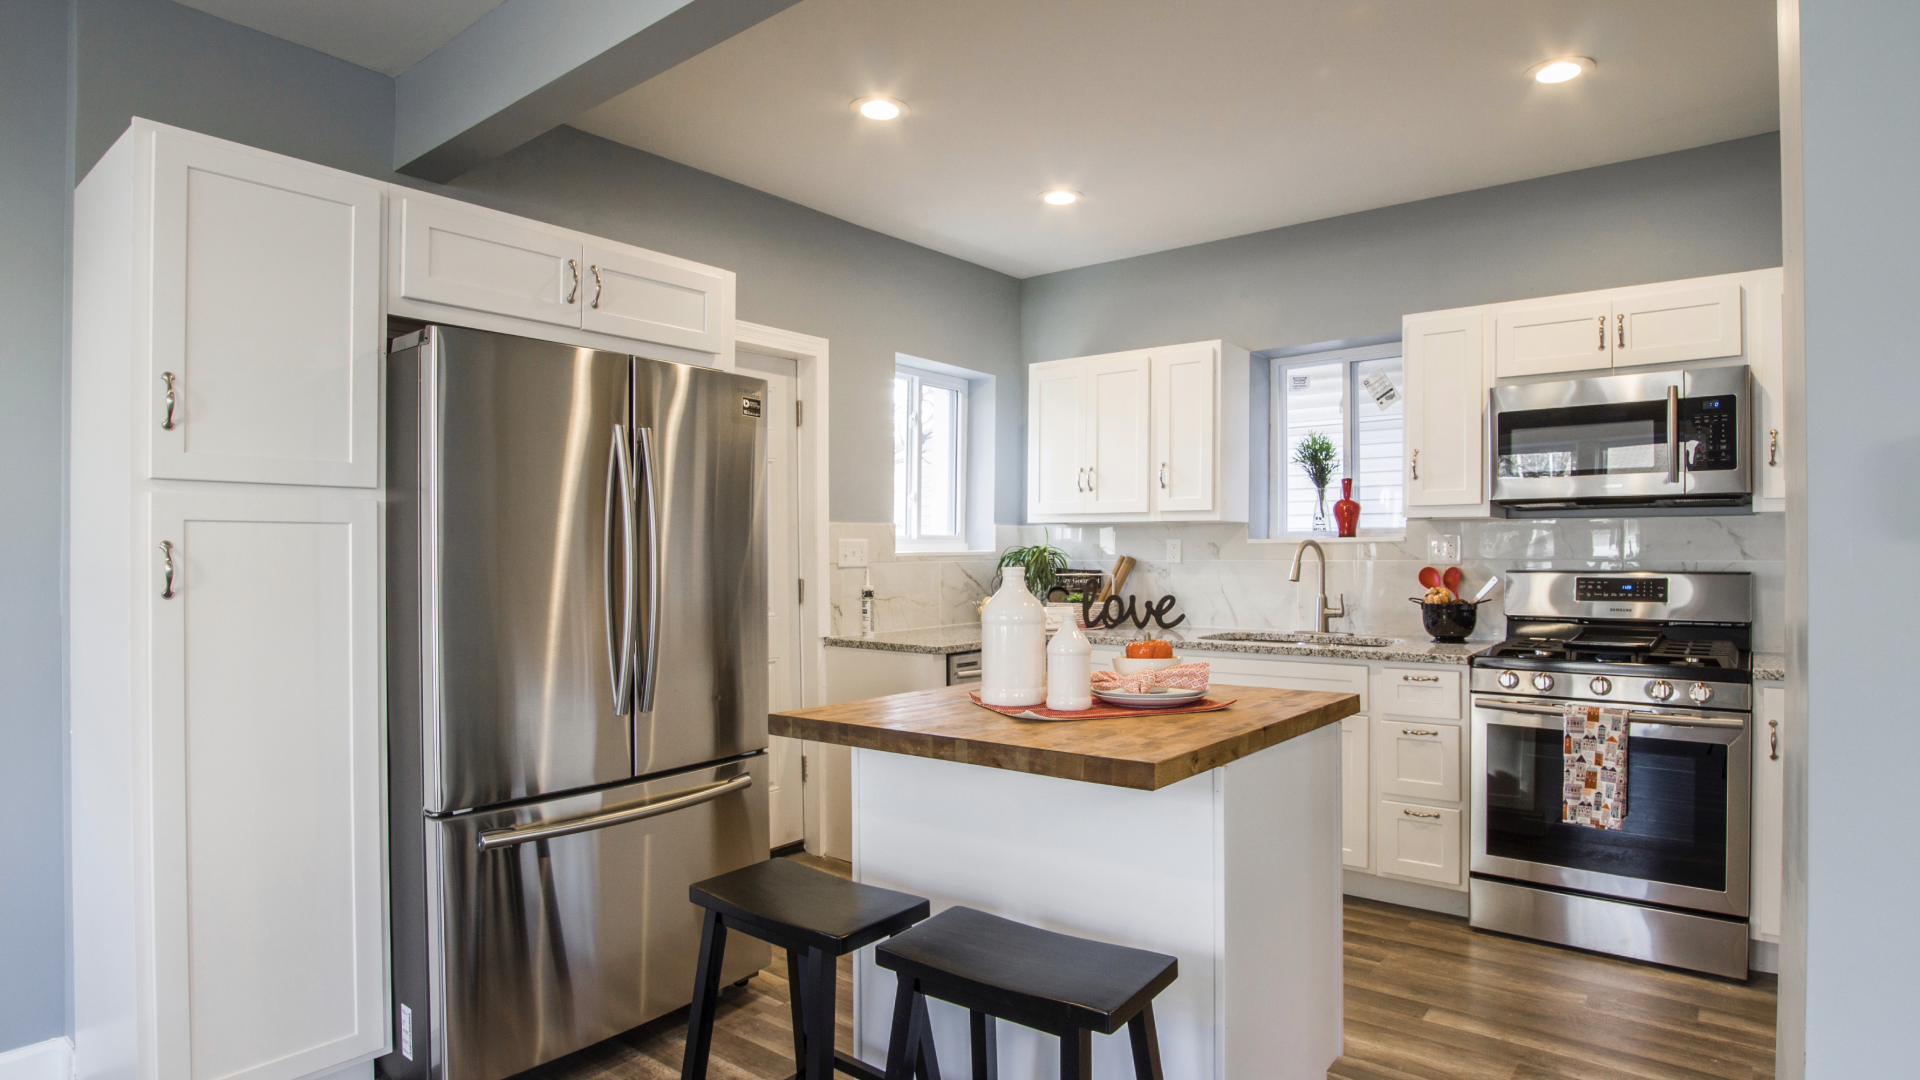
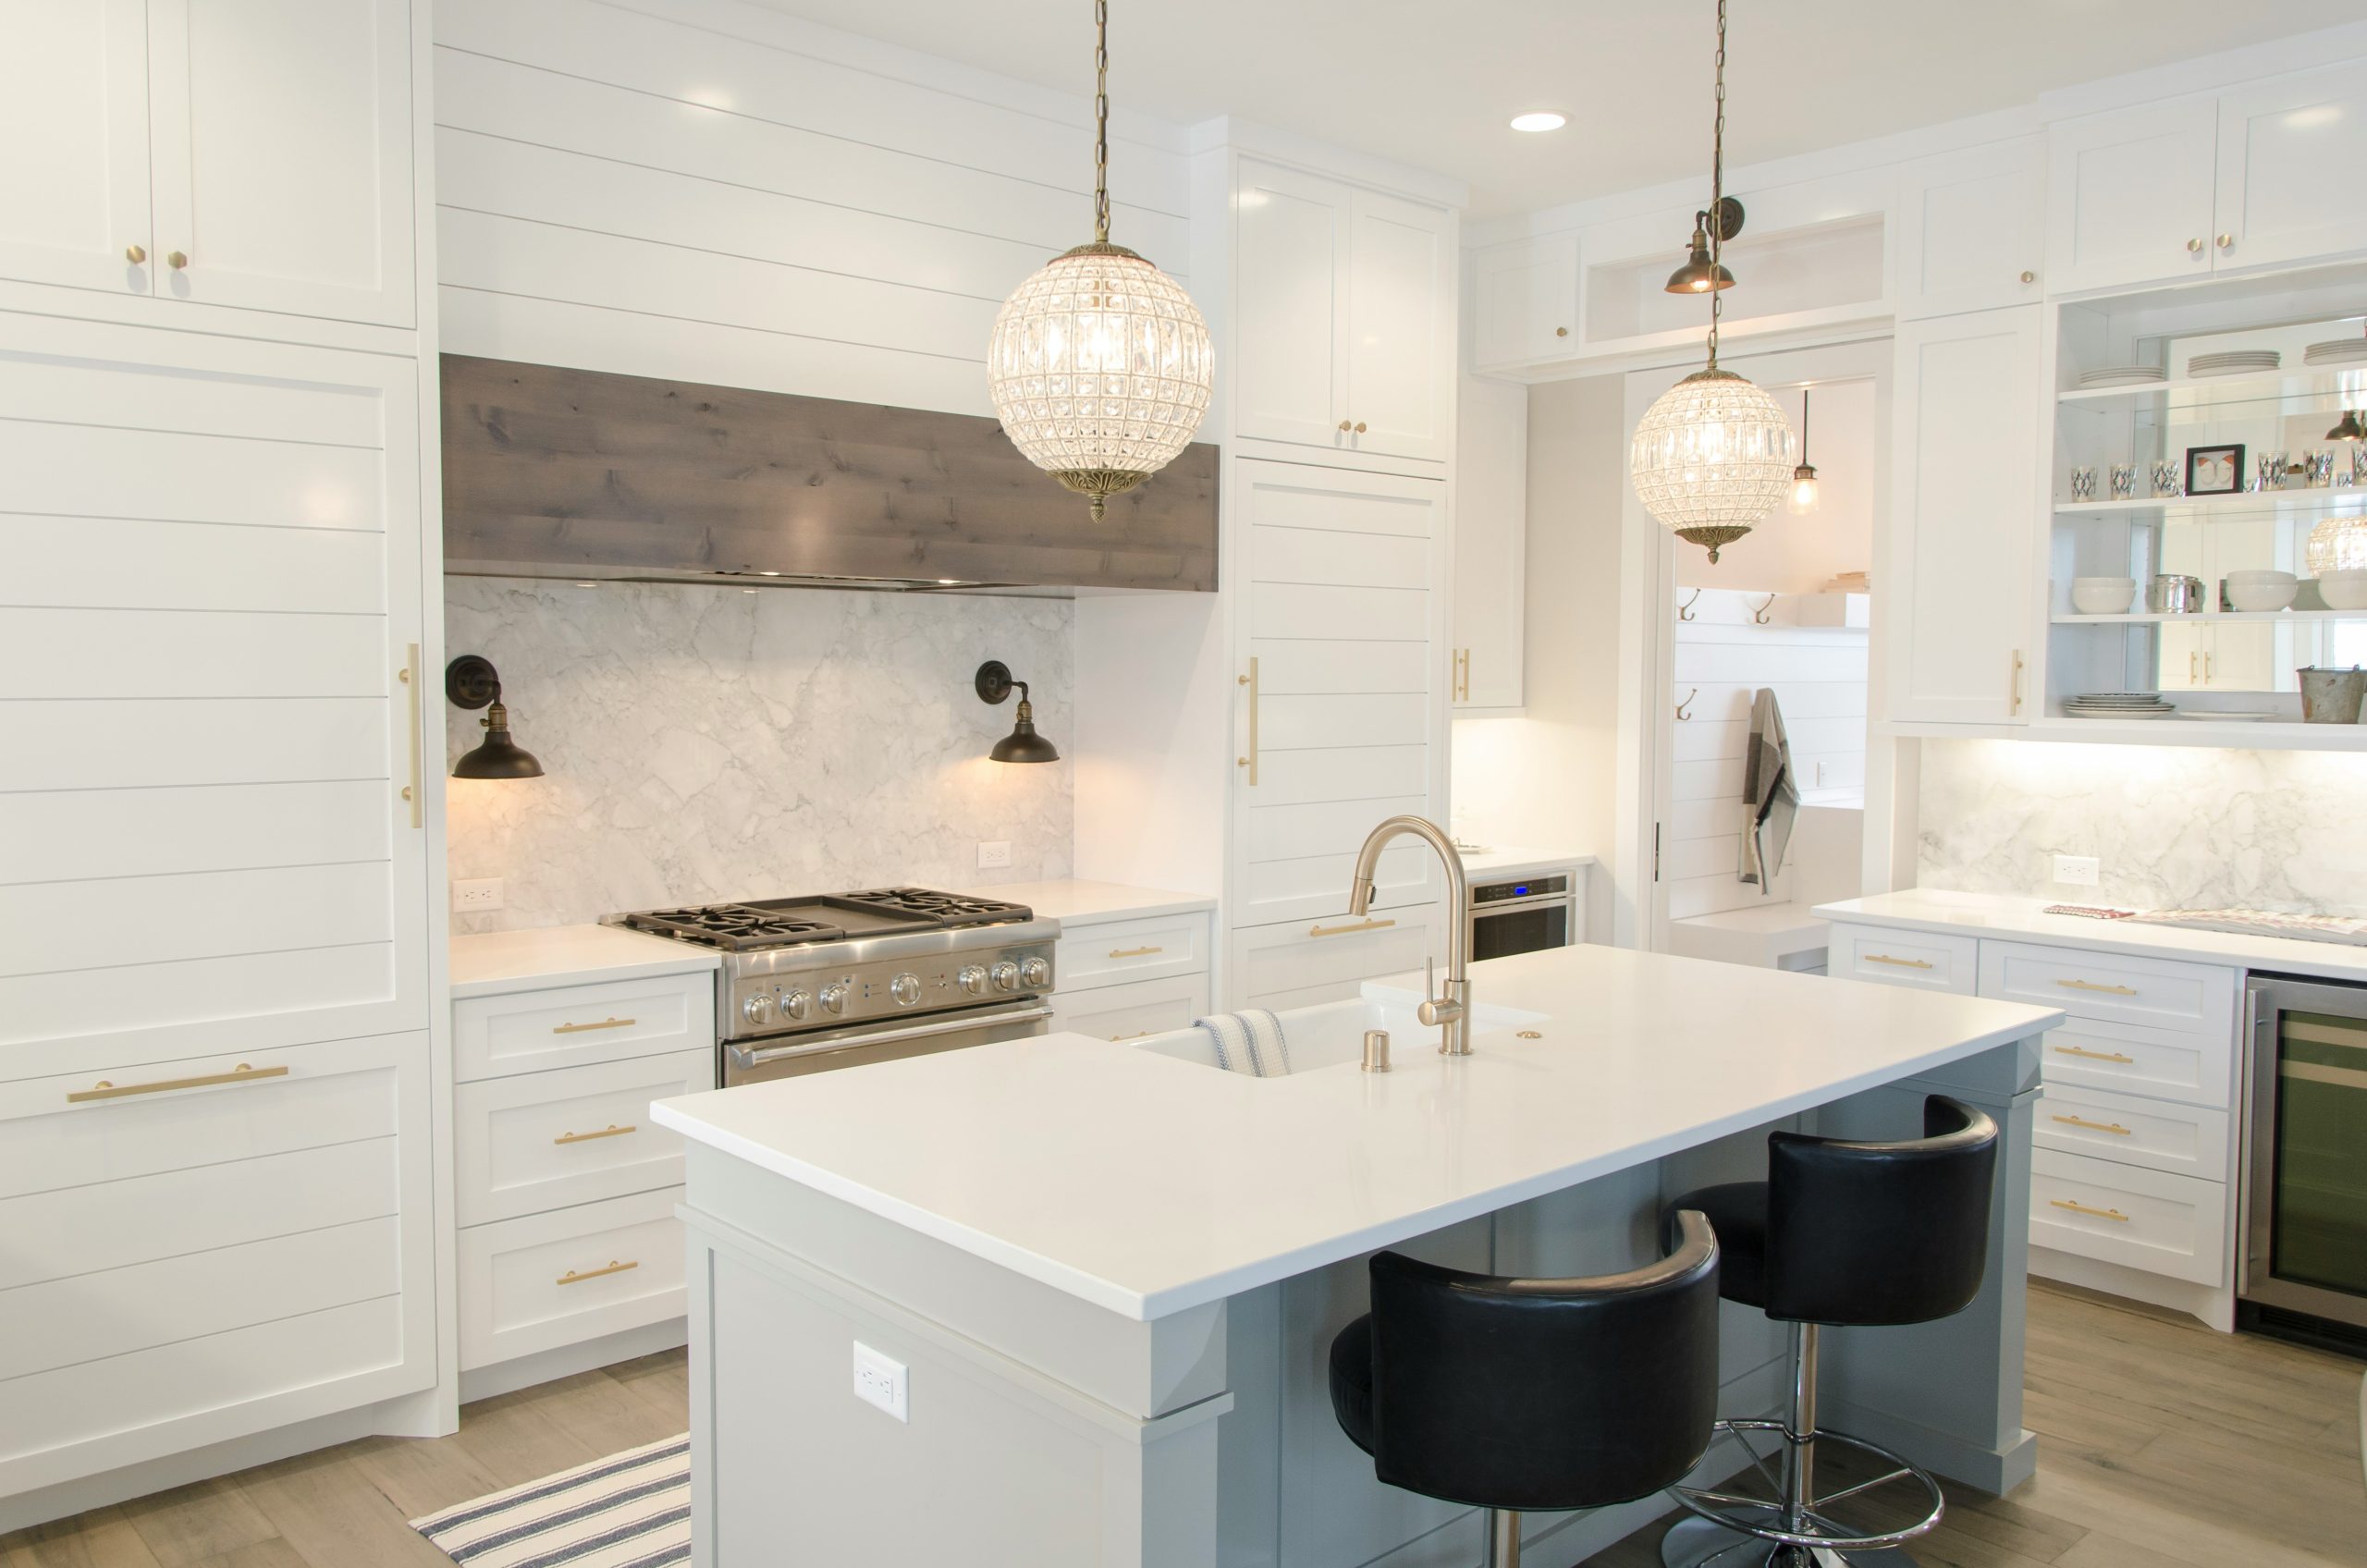
Tackle the kitchen appliances
If your microwave is crusty, then odds are good that your other kitchen appliances could also use some attention. The oven, the stove and the refrigerator are usually the dirtiest appliances in the house, so make sure you’re putting them on your rotating “to clean” list — and stick to it.
Some newer refrigerators include easy-to-remove shelves and door inserts that you can clean in the dishwasher. If you’re due for a fridge upgrade soon, then look for a model that has some of those cleaning-friendly features.

Power wash
While you’re sprucing up the outside, rent or borrow (or buy) a power washer and tackle the house itself. You will be amazed how much dust and dirt accrues on the outside of your house, the deck, the porch, and other areas — washing it off can make your house look like it’s got a brand-new paint job, plus you’ll be eliminating any cobwebs in the bargain.
Make it a habit
If you only do all of these things to your house once a year, then it’s not going to stay clean for very long.
Keep your list of rooms and think about your daily and weekly schedule, then try to squeeze in some deep-cleaning work every now and again.
You’ll find that your entire house stays cleaner for longer, and any special-event deep cleaning that you might have to do will be much easier when you have a plan for upkeep.
10 Ways to Make Your Home Energy-Efficient

Not too long ago in our country’s history, talking about making your house “greener” might get you labeled a hippie tree-hugger. But times change, and as gas, electricity, and water prices creep up, more and more homeowners are seeing the (strong) advantages that come with considering the environment when you make decisions about your household.
Are you interested in making your home more energy-efficient — and saving money in the bargain? You have a lot of options, from cheap to expensive, so read on to discover whether there are some big (or small) energy-saving opportunities that you’re missing.
1. Get an energy audit
Most utility companies offer an energy audit, oftentimes for free:
They’ll send an expert out to your house to take a look at all your appliances, your lights, your windows, your doors, and more — then make recommendations for changes you can make that will save energy (and money) every month.
If you want a personalized rundown of everything you could do to and for your house to make it more energy-efficient and environmentally friendly, an energy audit is a must.
2. Swap out your lightbulbs
Compact fluorescent or even LED bulbs are more expensive than incandescent bulbs, but they also last at least 10 times longer than incandescents and use only about 25% of the energy of an incandescent bulb.
As your incandescent light bulbs flicker out, consider replacing them with a greener alternative. And if you decide to swap them all out at once, you’ll start seeing a difference pretty quickly in your utility bills!
3. Pay attention to the sun
There’s a lot you can do to heat and cool your home without spending any money at all — but you’ll need to keep tabs on where the sun is in the sky.
- In the northern hemisphere, windows with southern exposure are going to get the most direct sunlight, so start with those.
- Make note of whether and when the sun shines into your home across every season, then adjust your habits (and your blinds) accordingly.
- For example, if the sun is shining directly into your house during the winter season, then you might be able to save some money on your heating bill by opening up all your curtains and blinds in the morning to allow the sun in. But if you’re getting that direct sunlight in the dead heat of summer, then the opposite applies: Close your blinds and curtains in the morning to keep your house cool.
4. Weather-stripping your windows
Especially in some older houses, sometimes windows might not be entirely airtight — meaning that you’ve got drafts from the outside sneaking hot or cold air into your home against your wishes.
A relatively cheap and easy fix is weatherstripping your windows to eliminate those drafts and ensure that what’s outside doesn’t creep inside and vice versa. It’s as simple as a trip to a hardware store and a few minutes to weatherstrip each window back at the house.

5. Turn down your water heater
Hot water feels amazing in the shower … but here’s the thing: Your water heater is constantly working to keep its water consistently hot, and if you’ve got the gauge set at a high temperature, then “consistently hot” takes a lot of energy to maintain.
- Take a look at your water heater’s settings and ask yourself if the hot water really needs to be as hot as you have it.
- Turning down the temperature ten or even five degrees can result in some surprising savings — and you might not even notice when you’re mixing that hot water with cold for your ablutions!
6. Collect rainwater
Depending on where you live, the weather might be an asset that you haven’t tapped yet. You can’t use rainwater for everything, or even very many things — you can’t drink it, and you won’t want to use it to cook, wash dishes, or bathe with — but if you keep a cistern of rainwater in your yard, then you’ll always have a green way to water your grass and flowers in the spring and summer.

7. Swap out your showerheads
If you like to take long showers, this fix can be especially helpful: Change your current shower head for a low-flow version that uses less water. These often have several settings for pressure and spray so that you can customize your shower experience — and you probably won’t even notice that you’re using significantly less water once you make the change.
8. Buy a smarter thermostat
You don’t necessarily need a “smart” thermostat for your home (although it’s always nice to change the temperature using a phone app from the couch — just saying!), but if you don’t have a thermostat that you can adjust to change the temperature at different times of the day, then you should definitely invest in one.
For example, you could set your thermostat to lower the temperature of the house by 10 to 15 degrees when you’re at work during the day, and instruct it to start bringing the temperature back up to “normal” an hour to 30 minutes before you arrive home. Many thermostats even let you designate temperature by days of the week, so if you know that you’re almost never home on Saturday night or Sunday morning, you can adjust your temperature accordingly.
9. Air-seal (and maybe insulate) your attic and basement
You may know that heat rises, and that applies as much inside your house as it does in the world outside.
That means a drafty attic could result in a lot of energy spent keeping the house warm in the wintertime, and it won’t do you any favors in the summer, either. An uninsulated basement can also let in cold air in the wintertime and out in the summertime. Check to see if your basement and attic are air-sealed and insulated. If not, consider investing in an upgrade.
10. Use a manual push mower
If you live in a region where grass grows like weeds and you don’t need to water, then maybe it makes perfect sense to keep your lawn … but you’ll still need to mow it regularly. One greener alternative to a riding mower or a motorized push version is an old-fashioned manual push mower. They do work, but you’ll be using your own elbow grease instead of gasoline to power the blades, so you’ll get a workout while you mow.
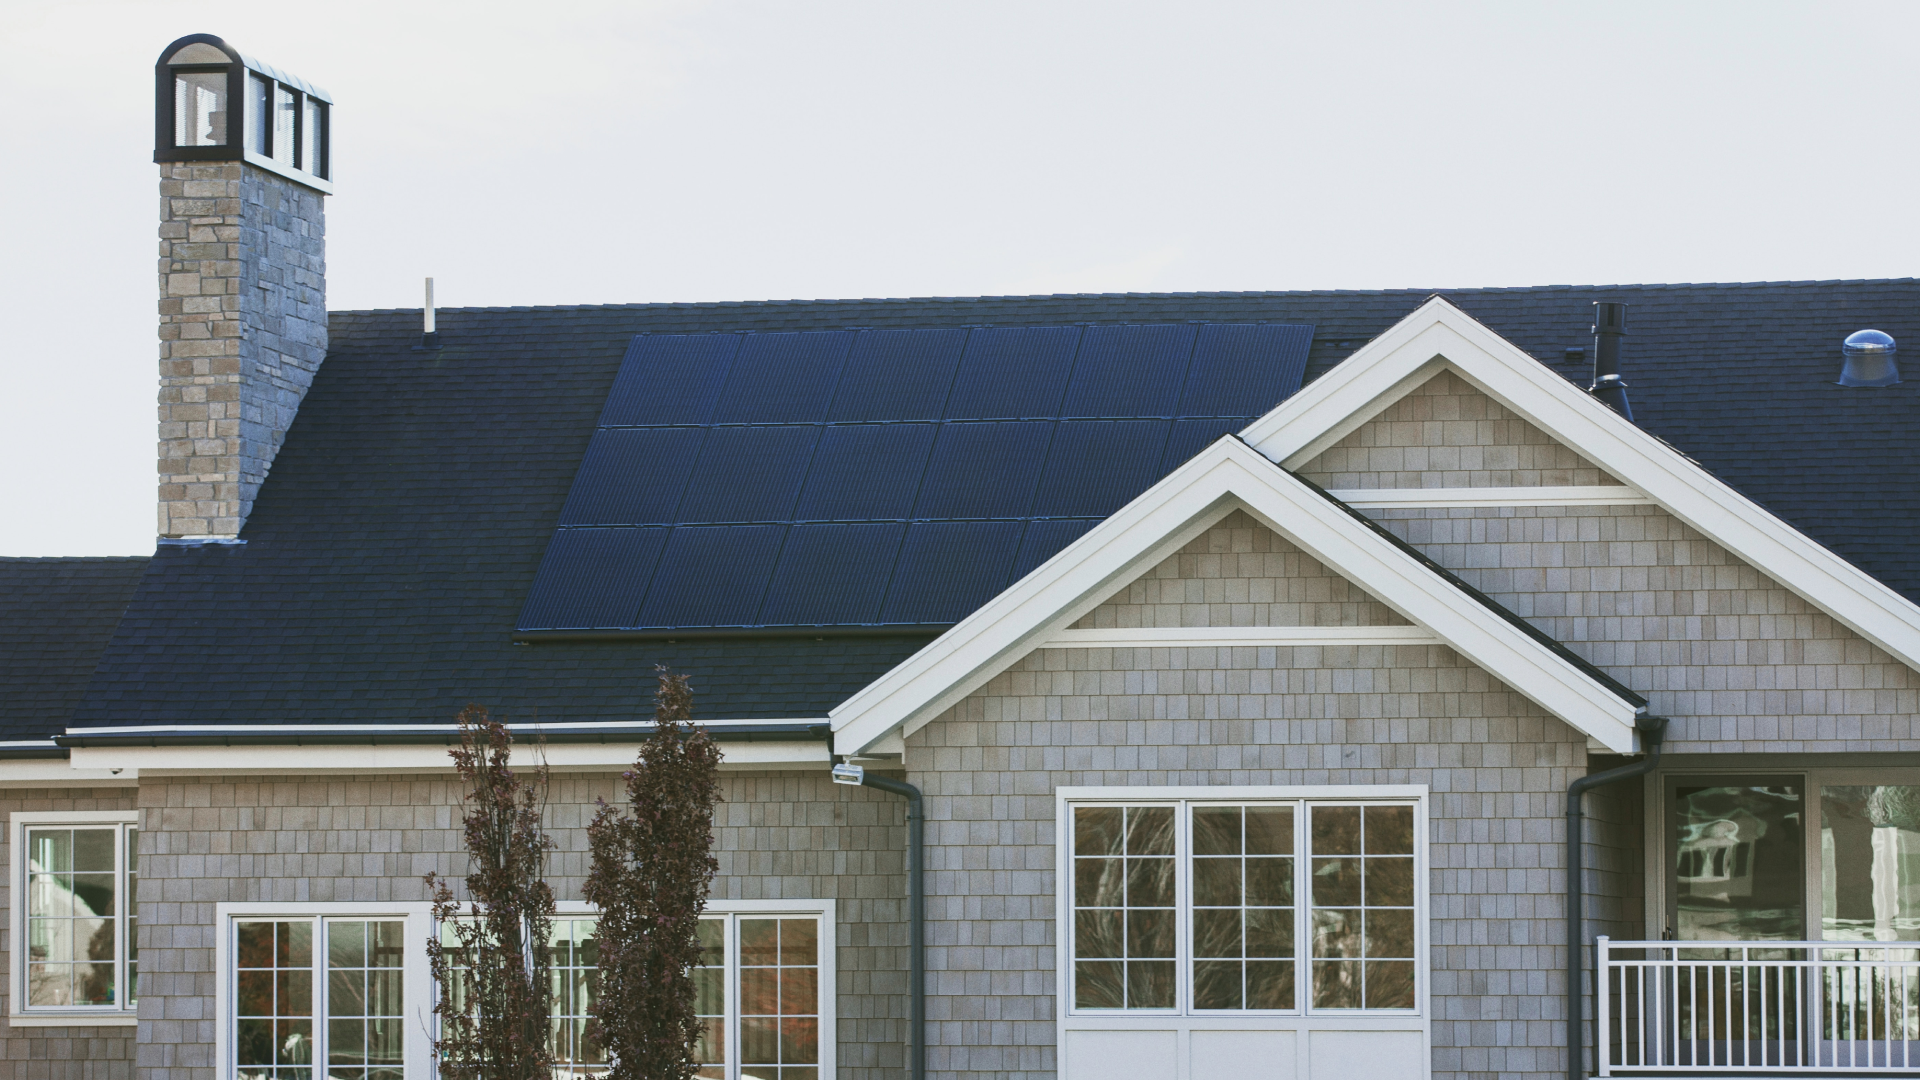
Deciding to make your home more energy-efficient can involve a simple move like turning off water to rarely used sinks and toilets, or as complicated and involved as replacing appliances and installing solar panels. Figure out your ideal level of investment and take things one step at a time — before you know it, you’ll have a green home that saves money without sacrificing comfort.
5 Common Mistakes First-Time Homebuyers Make
Buying a home is always an anxiety-ridden process, and that goes triple for anyone who’s embarking on homeownership for the very first time. There’s so much to do and so much you don’t know that “overwhelming” hardly seems like an appropriate description of how it feels.
Even though you don’t want to scare yourself away from the entire process, you still need to be wary of falling into a few common traps that first-time buyers generally don’t avoid. If you’re aware of these five potential mistakes — and able to keep yourself from making them — then you’ll be saving yourself some significant stress on your homebuying journey.
1. Not understanding your down payment options
The biggest headache for so many first-time buyers is the down payment. If you’ve ever bought a car, then you’re probably familiar with the concept — it’s money that you contribute to the total cost of the purchase.
- A down payment of just a couple thousand dollars can get you a head start on your car. If you don’t have a certain amount to put down on your home loan, however, you might find yourself paying private mortgage insurance (PMI) on the lifetime of the loan.
- Depending on your credit score, the bank and other factors, PMI could cost between 0.5 percent to 1 percent of the total loan amount.
- Most banks require at least a 20 percent down payment before they will waive the need for PMI on the loan. And most homes in this area cost about $300,000, so that means a buyer would need to bring $60,000 to the table in order to avoid PMI.
- Some government organizations and lenders try to incentivize first-time homeownership by offering free down payment grants or loans to qualified buyers. Depending on your age, income level, credit score and other factors, you could qualify for free money to wrap into your down payment; a full rundown of programs is available at downpaymentresource.com.

2. Not getting prequalified for a loan
Between the amount of money you plan to put down on the home, the potential PMI and other cost factors, your monthly cost could be significantly more (or possibly less) than some of those calculators will show you online.
So before you trust those “estimated monthly mortgage loan amount” numbers that you see popping up next to your potential new dream home on Zillow or a brokerage website, it pays to figure out what you can actually afford — and that means getting prequalified for a home loan.
This means you will need to talk to a mortgage loan officer and submit a slew of documentation, from your monthly pay stub to your credit score, in order for that loan officer to tell you how much money you can get for your home loan. It’s a little bit painful, but the prequalification letter you’ll get as a result is much more credible than a quick qualification you can pull up on an app — and that means sellers will take it more seriously when it comes time to put in an offer.
3. Not finding a qualified real estate agent
It’s so easy to find homes online these days that you may wonder why a real estate agent is even necessary. After all, isn’t the hard part — finding the place you want to buy — something you can do yourself?
Well, maybe. But in areas with red-hot markets, you’re probably not seeing the most updated listings — that home you just fell in love with online might be under contract before you can set up a time to tour it.
Not only can an agent make sure you have access to listings the second they hit the MLS, but a qualified agent should also provide expertise on the area where you want to move. Whether that’s feedback on who can help you with homeowners’ insurance quotes to warnings about some of the frequent pitfalls of owning a home in that neighborhood in particular, a qualified agent is an invaluable resource.
4. Not spending the night in the neighborhood
If it’s at all possible, see if you can find an Airbnb or another vacation-rental type of setup where you can crash for a night or two — preferably closer to a week — so you can try your new neighborhood on for size.
- Is an 8 a.m. arrival time at work still reasonable with this neighborhood’s commute?
- Where are the closest grocery stores, parks, rec centers and hiking trails?
- What are the overnight noise levels? If there’s a train that rolls through town in the early hours of the morning, you’re near a highway or a flight path — and any of that is going to disturb you — then it’s best to figure it out before you’re spending your first night in your new home and wake up to unpleasant (and unexpected) noises.
- At the very least, you can learn enough about the neighborhood to know how close to (or far away from) the bus line you need or want to be and target your home search accordingly.
 |
 |
5. Not understanding what’s fixable and what’s a deal-breaker
Those drop panels in the ceiling are hideous, and you can’t imagine how anyone can fit into that miniscule bathtub. Are those annoyances that can be fixed or deal-breakers that mean you should pass on the property entirely?
This is another area where a good real estate agent can help. They see so many houses in various stages of repair and updating that they can show you where you can claim another foot or two for bathtub space (and help you figure out how much it will cost and who’s trustworthy enough to take on the job) or let you know that the ceilings are too low for any changes to make much of a difference.
None of these mistakes will keep you from buying a home of your own — but they could delay the process and cost you hundreds (if not thousands) of dollars at the end of the day. But if you’re able to avoid them, you’ll be signing the closing papers on your dream home before you know it!
Open House Prep Guide: Get Ready in 5 Steps
An open house can be an ideal way to introduce a bulk of buyers to the property you’re hoping to sell them, and done right, an open house can sometimes generate multiple offers. The key, though, is “done right” — not every open house is going to be a buyer’s bonanza, and not every open house showcases a home at its highest potential.
You want buyers walking in to feel welcome and for the house to be presented as at least a little bit of a party venue, so buyers can imagine themselves hosting their own event for friends and family in the home.
What does it take to prepare for and host the perfect open house? The following 5 steps will help you create a memorable (and, ideally, lucrative) event that will have buyers dreaming about living in your home.
1. Consider a broker’s open house
A broker’s open house is an open house specifically for real estate agents or brokers who have buyer clients. It’s another option that you might discard as too much work, but hosting a broker’s open house before your home actually hits the market can create some buzz around the property and help with word-of-mouth advertising — if an agent or broker thinks it might be perfect for their client (or clients) and have a chance to walk through and check everything out in advance, then they’ll be more likely to add it to their list of “must-visits” when you host an open house for the general public.
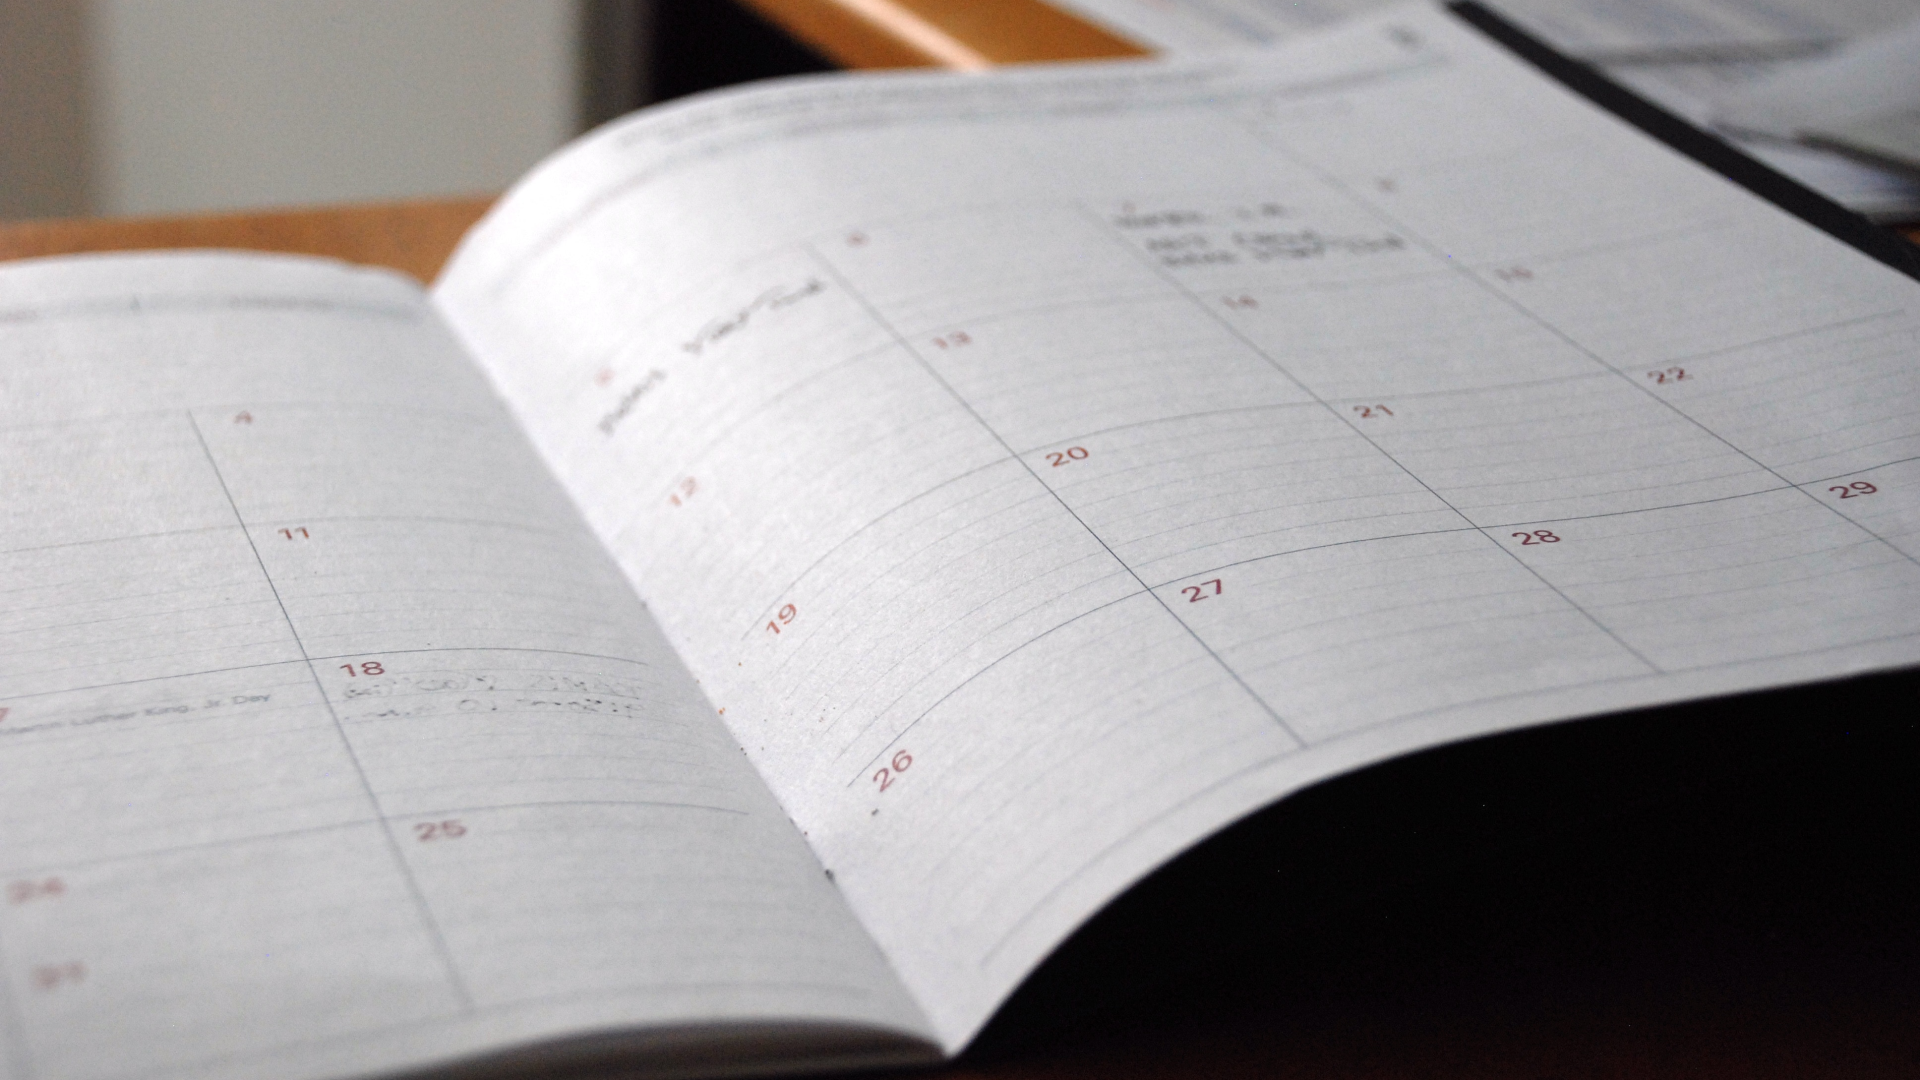
2. Set a date
Deadlines make things happen, so give yourself one when it comes to your open house. The timing is up to you, of course:
- Weekends are perennially popular for open houses because lots of buyers tend to be available, but for buyers who work alternate schedules, a weekend might not work so well.
- A weekday evening might be a better option, depending on the price range for your home and whether a bulk of qualified buyers work in jobs that keep them mostly occupied on weekends.
Consult with your real estate agent about which days of the week and times of day have historically worked best for them, and see what you can find out about the schedules and availability of most buyers in your area, then figure out a time and date based on what you’ve learned and start getting ready for launch.
3. Tell everybody
No one will show up to your open house if you don’t tell them when it’s happening and where it is, so marketing the event is a critical component for success. There are a number of ways to do this, you can:
- put a notice up at the post office or possibly even the local coffee shop,
- ask your agent to add it to your listing information,
- see if any local publications will let you place an open-house advertisement in the appropriate place,
- post information at your agent’s office and even other brokerages (if allowed),
- and of course, set up signs the day of the open house with the address and time clearly visible.
Social media is another fantastic way to advertise your open house. Put it up on Facebook and add it to any neighborhood-specific groups so that people who are interested in the area can see it and tell their friends. Make sure you post it on Nextdoor, too.
 |
 |
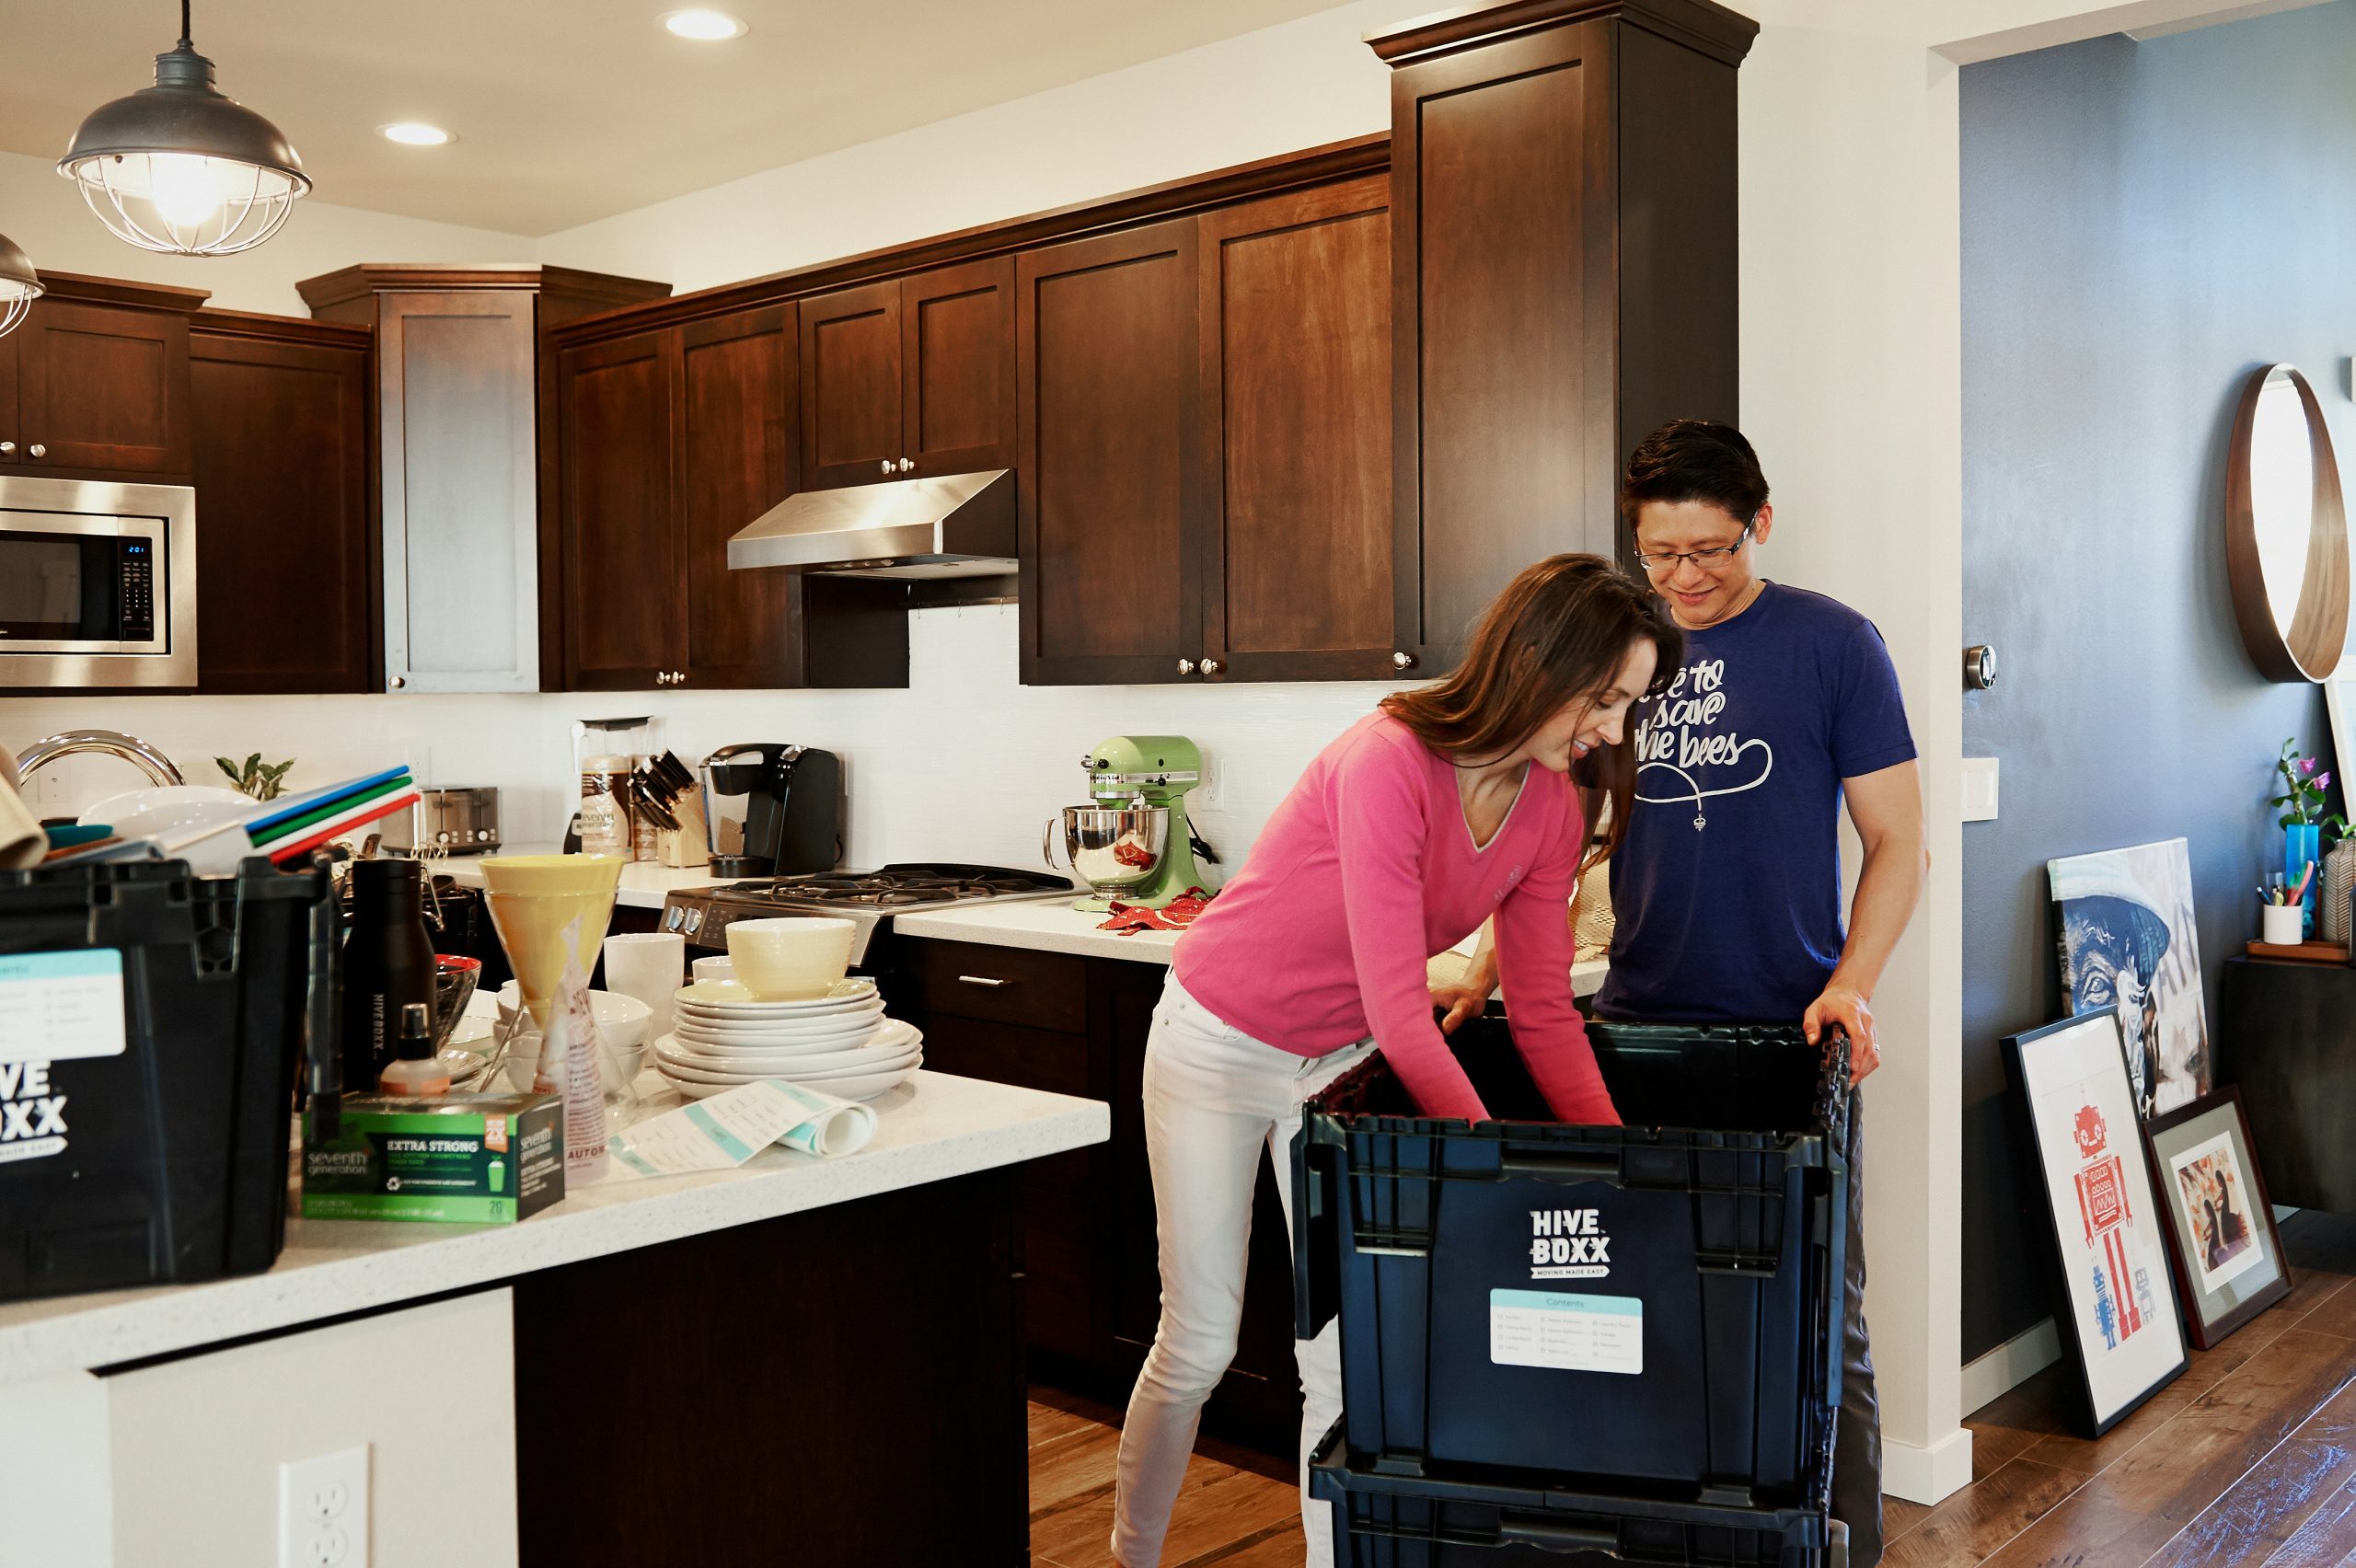
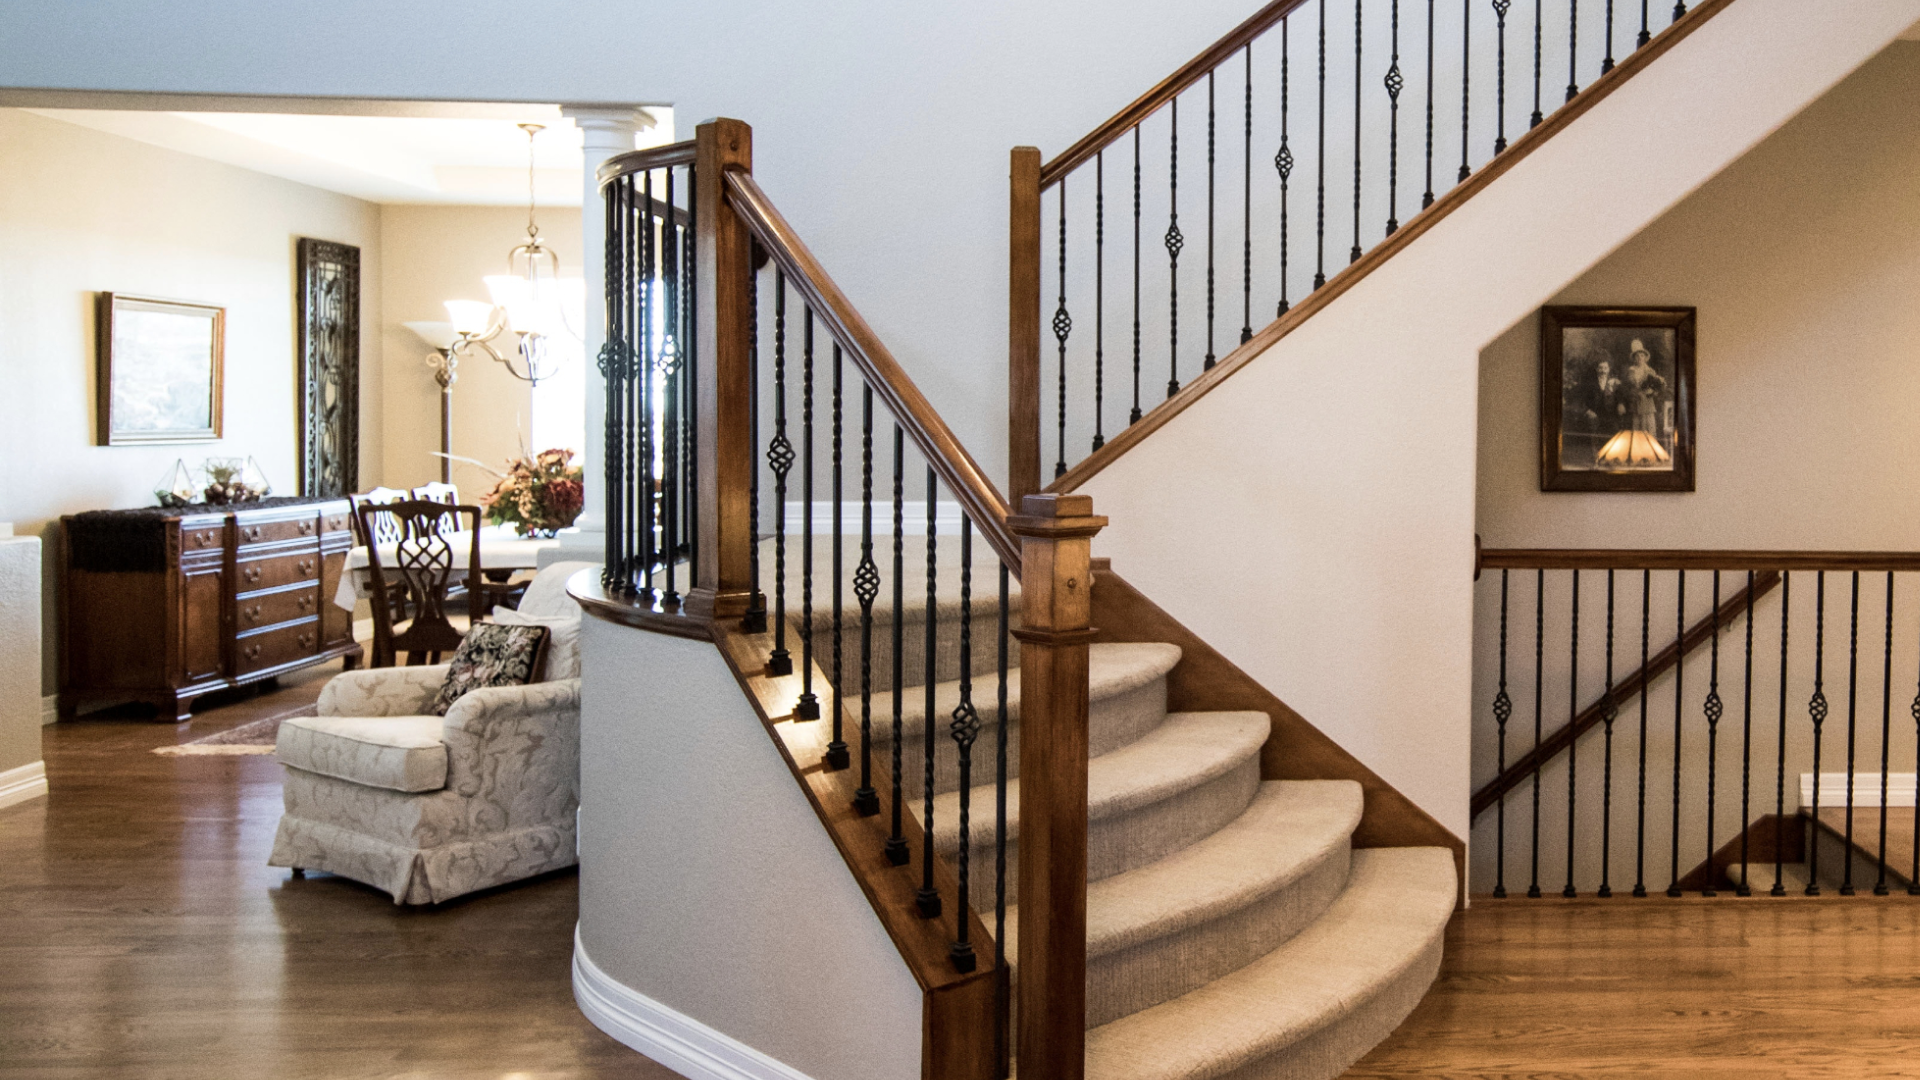
4. Remove clutter
Once you’ve set a date and advertised the home, it’s time to get your property ready for its close-up — and, fair warning, that’s probably going to take a lot of work. You’ll need to transform your home from loved and lived-in to looking more like a vacation rental: The ideal look is comfortable and inviting, but not personal.
Start with a serious clutter-removal operation, including furniture. You might want to get rid of a few chairs or even an entire sofa in the living room, end tables or even an entire dresser in the bedroom, and a file cabinet or other ancillary furniture in your home office.
Remove any personal items, including family photographs from the walls or fireplace mantle, and if you have substantial music or book collections, it might be a good idea to scale back the number of items.
Remember the ideal and focus on culling any potentially alienating or divisive items, especially; it’s fine to have a fixation on religious or political collectibles or artwork, for example, but if you wouldn’t find it appropriate in a vacation rental, then you should probably get it out of the way for your open house event.
5. Move the furniture
Once you’ve eliminated the clutter and even some of the furniture, it’s time to rearrange what’s there so that you don’t have obvious gaping holes in your decor.
Your agent might be a good resource here, especially if you’re not sure how to replace the giant boudoir-focused images you had hanging on your bedroom walls (hey, we’re not judging!). Renting some artwork or items from a stager could work nicely for you, but you may also be able to get away with buying some inexpensive but nice-looking landscapes from a local thrift store and putting those on your walls instead.
Think about the flow of your rooms as you move furniture around and try to leave plenty of space for visitors to walk around and through each room.
What Your Agent Should Do For You?

Just like in any other profession, there are good real estate agents … and there are, unfortunately, subpar real estate agents, too. But how do you know if you’ve got a dreamboat or a dud handling your real estate transaction?
One way to know whether you’ve got a good agent (or not) is to consider some of the tasks and activities that a really good agent will manage for a client, then apply what you’ve learned to your own agent. If you don’t have time to track down all of the things that a good agent should be doing for a buyer or a seller, then you’re in luck: We’ve compiled a list so you don’t have to.
Ask you about your homeownership needs (and hopes)
It’s dangerous to make assumptions at the best of times, but when it comes to shopping for a home, assumptions are downright dangerous. So if you have an agent who assumes … everything … be wary.
A good agent should ask you questions — lots of them — about where you’ve lived, what you liked and disliked about both the home and the neighborhood, where you work, how long you plan to stay there, your future family plans, and more.
This is all to the greater good of helping you find the right place and possibly revealing a neighborhood or property type that wasn’t on your radar: Start here

Recommend a mortgage broker
If you don’t already have a mortgage broker to help you with your loan, then your real estate agent should be providing referrals for someone trustworthy. (And any agent worth his or her salt should definitely ask if you’re pre-approved!)
Real estate agents work on real estate transactions every day, and they have contacts who can help with mortgage, title, appraisals, inspections, and beyond. Use them!
Give you feedback on the neighborhoods
Unless you’ve lived in a neighborhood your entire life — and even then! — there will still be things to learn about the place where you’re buying your home.
A good real estate agent should be able to answer your questions and explain how each neighborhood compares against the others.
You’ll probably have questions about everything from where to buy groceries to where to walk to dog to what people do for fun on weekends, and your real estate agent should help answer those questions.
Help you find a home
You might think that finding a home is as easy as looking it up on the internet, and for some lucky people, maybe it is. But most buyers have to check out endless potentially unsuitable homes before they find “the one” that’s their long-term best fit, and pictures (especially on the internet) can be deceiving.
An agent should hook you up with an MLS feed that will alert you when a home that meets your criteria hits the market — and agents should also help you come up with alternate strategies if the going is just too tough in your price range.

Price the home correctly
For sellers, this is one of the most critical jobs that your agent will complete — and if they don’t do a good job, you could lose tens of thousands of dollars. Pricing the home correctly right out the gate is absolutely vital to selling the home quickly and for fair-market value.
- Some agents will inflate the possible sales price and tell sellers that they can always reduce the price if they don’t get an offer. Although this is certainly true, those agents are misrepresenting a bigger truth: your listing is going to get the most attention from qualified buyers within the first 48 hours of hitting the market.
- It’s not typically wise to go with the agent who offers the highest sales price; instead, ask prospective agents how they calculated that sales price, whether it lines up with the typical price-per-square-foot in your area, and how long homes priced in that range tend to stay on the market.

Market the home well
One reason why sellers hire a real estate agent in the first place is that the agent has a marketing platform to use to advertise the home for sale. Some homes require more marketing than others, but agents should have a plan to market every home they list.
And marketing goes far, far beyond “put it on the MLS, Zillow, and realtor.com — then pray you get a qualified buyer.”
If you don’t know the listing agent’s plan to market your home — or worse, if you don’t think the agent has a plan at all — then that’s a huge sign that your agent might not be the best fit for you.
Help you pick an inspector
When a buyer is financed for a home loan, the lender is going to want to know that the investment is solid — that the house doesn’t have any major issues, for example. That’s where the inspector comes in, and the inspector will have to enter the picture before closing.
Your real estate agent should help you find an inspector and answer any questions you have about whether the inspector’s price tag is reasonable.

Attend the appraisal
A lot of agents do not consider attending the appraisal to be particularly pressing — and that’s fine.
But if the appraisal comes in under the sales price and there were no agents present to answer questions or help the appraiser figure out the home’s value, then you’ve got a problem that might not be very easy to solve.
Many buyer’s agents will make a point to attend the appraisal and make sure that the appraiser has access to everything he or she needs and can get any information necessary to complete the appraisal thoroughly. Is yours one of them?
Communicate, communicate, communicate
A lot can change between putting an offer on a home and actually moving in.
The real estate agent should be the person who knows all of the different parts and pieces of the transaction — and is willing to serve as the point of communication between them.
If the appraisal is delayed, or there’s an issue with the loan, then the agent is one who is communicating that information to the people on each side who need to know. An agent’s job is to make the transaction easier for you, and that typically means managing the messages for everybody.
